Wednesday, March 26, 2014
My dear speech :)))
Graduation Ceremonies is almost over....It's been one happy month to see friends and family posting their Best Grad Pic/moments (and i'm so proud to see all of you wearing your togas and receiving your diplomas! CONGRATULATIONS AMIGOS ANDAMIGAS!). Imagine how fast time flies.... I can also feel that same way when I first posted my Graduation Picture.... I remember my uncle said "FIREWORKS!"... Firework display of happiness and fulfillment... it was one EPIC FINALE for me... a Finale of all the struggles and hardships of being in school, a gift that I can give to my mom, the Finale wave of college ends here and the next chapter of my life will soon be starting....
Before Graduation, all I have in mind is simply to graduate; but as soon as I step my foot forward, I get this shiver all over my body "What will Happen Next?"...... Here's the thing, you just don't sit in your class thinking about what food your going to eat on dinner, what to draw on your notebook because you are bored, what time will this subject end or what topic you and seatmate will be talking when your professor is not looking.... because Kids, after college, it's much more tougher than you thought.... "I know what is like outside the school walls" well it's better said than done things is not as easy as what you have in school... in the outside world, your this one tiny fish in a huge fish tank... I'm not scaring you or something but lets face it after graduation the steps to adulthood begins...
HAHAHAHAHA... to end this message I just want to say CONGRATULATIONS again friends! To each and everyone who's on their way to their dreams... thou shall not give up on what you really want! Even if the WHOLE WORLD says no, all you have to do is stand up and FOLLOW YOUR HEART! AJA AJA FIGHTING!!!!! :)
Monday, March 24, 2014
The Lee Minho Experience :)
March 23, 2014, the day we set our eyes to the one and only LEEMINHO! aka Goo Jun Pyo! It's been last year since Lee Minho had visited the Philippines for his Bench tour and "My Everything" concert and I miss those two chances to see him in flesh! My best friend who's a Lee Minho fan had been talking about Minho's visit here in the Philippines, since I'm the best friend, all I do was to urge her in watching his show if ever he visits here in the Philippines. Despite of me wanting to see him, I gave all my efforts to be a fangirl for my best friend's love for Jun Pyo. And fate has it! After months of wishing, Lee Minho is finally here! Sadly we never had the chance to go paparazzi mode (HAHAHAHAA #dreaming). Anyways our dream of seeing him has finally come true.
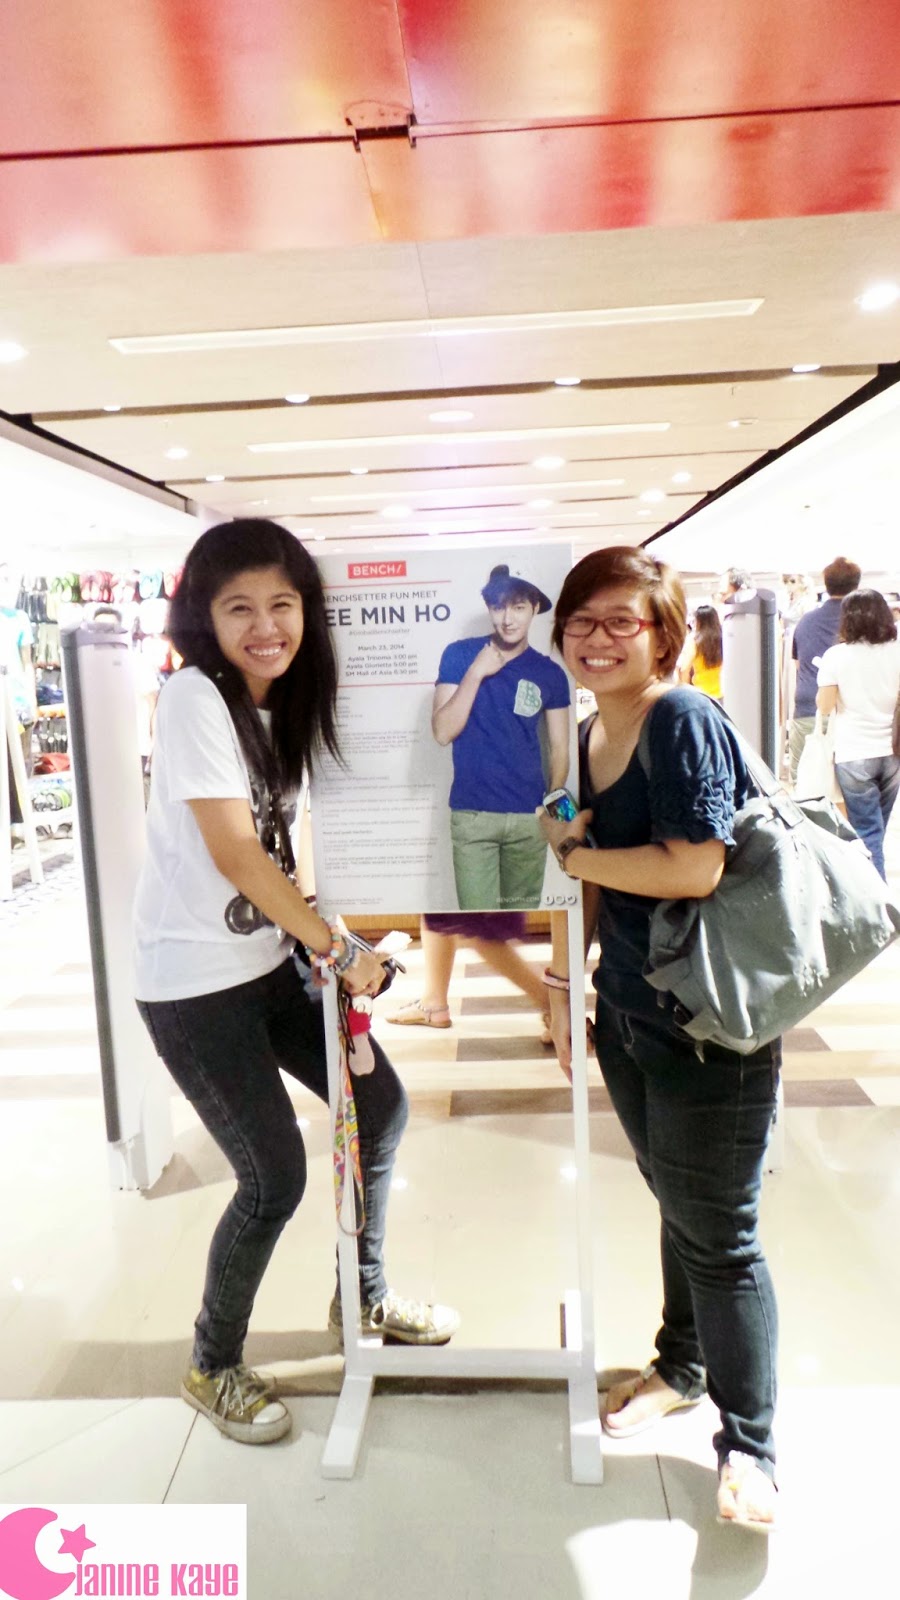
(and here's the living proof of our Junpyo fangirling... thanks to my best friend's camera)
The funny thing about our experience is that we came from both different angles. She's from the front area where Jun Pyo's face is exaggeratedly saying hello! And I am from the back side of the stage, where all I can see is his handsome back! Good thing he says Hi to us first ahahahaha :D
(her view)
(my view)
Even if our views are from different angle we still both manage to go fan girling no matter how far we are. As a matter of fact, I came all the way to Trinoma not just to see Jun Pyo but to support my best friend Julie no matter what; even if the stare of other people frighten us, we manage to go crazy loco despite of the distance we share! hahahaha
But to top it all, being a Fan Girl is not as easy as 1,2,3..... You spend hours and hours waiting for your idol to show up and sometimes the sad truth that hit you big time is his so near yet so far.... that's how every fan girl story goes and of course those girls who gets high five, a selfie, a hug, or a kiss with Jun Pyo is simply LUCKY! I mean, hello! You could hug one of the most gorgeous guys in Korea! hahahah :) not to exaggerate but Lee Minho is Lee Minho!
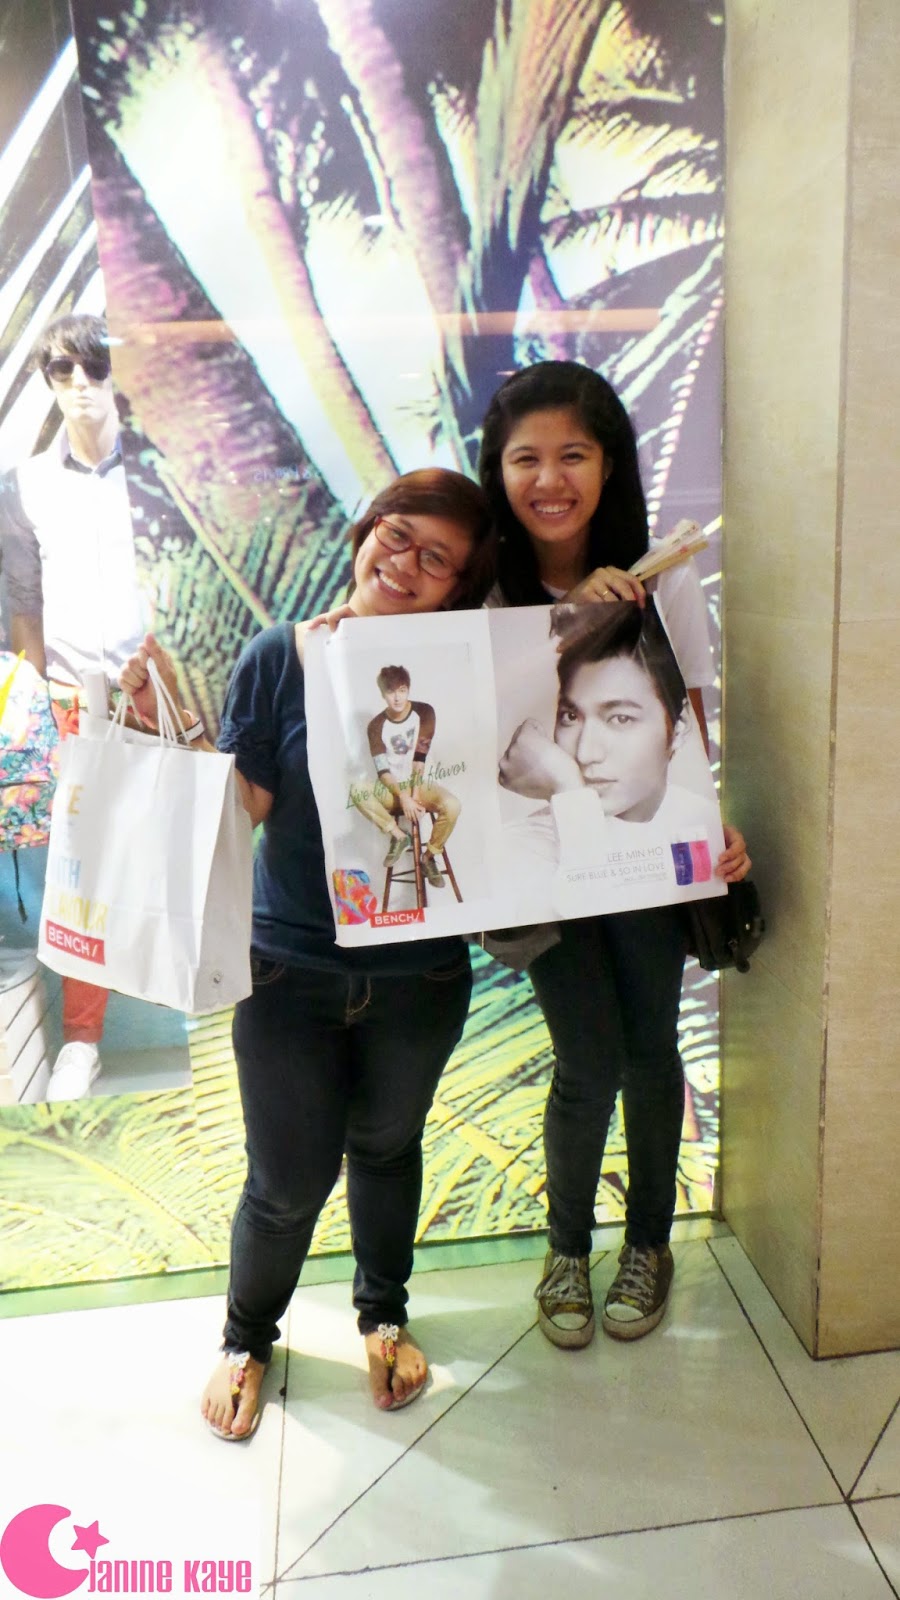
Here's my best friend and I sharing tons of smile after seeing Lee Minho for REALZ!
Haiz.... Lee Minho Check! :)
Girl Bonding Check! :)
Supportive best friend over here Check! :)
Saturday, March 22, 2014
A Girl and Her wand by Janine Kaye
 She grew up with a touch of dreams
and figure out life isn't what it seems.
Her world was different from others
and everyone is beautiful and a bunch of heirs.
She was totally odd and stoic
nothing about her seems fun and realistic.
So her fairy-godmother guided her
in a life she thought was unfair.
She said "A wand is what you'll need
It will give everything you seek
But dear be patient
Not everything will be answered in just one click"
Every night, she patted and swish,
Closed her eyes as she wish
"I know I could
I know I would
Oh please my dear wand make my dreams come true
I promise I'll be patient and never question you"
As the little wand beautifies with light
A magic that seems to be right.......
Thursday, March 20, 2014
Tiffany! :)
Hi guys! here I am again with my new DIY. :) So I'm currently obsessed with Girls Generation "I Got a Boy" outfit :) especially Tiffany-shi's Cap :) Since it's a bit Hip Hoppy I decided to make my own :) Well obviously it's not as pretty as Tiffany's but here's my quick DIY Cap :)


Here's a closeup of Tiffany's cap :)
What you'll need
1. Old baseball cap (any you would like to design)
2. Beads
3. Needle and Thread
4. Glue Gun
5. Old notions ;0
6. Butterfly wings (for the Wing design)
First, you need to sew your beads on the left side of the cap.
Once you finished putting beads on your cap, place your notion on the top of your beads. For me, I used my old earring for the main design. hahaha
Followed by your mini wings; Since I don't have the same wings as Tiffany's, I cut the wings from one of my "butterfly" scrapbook pieces.

here, she looks like :)

Once you have placed your beads, your all done with your Tiffany Cap :) It’s just up to you whether you want to put more beads on your cap
You're very own Tiffany Cap. :)
So why spend too much on your accessories if you can make your own. Less expenses more fun! :)
Once again, thank you for your time reading my blog! Until our next DIY! :)
Monday, March 10, 2014
Notions... Notions... Notions :)
I have been seeing tons of flower crowns all over the malls and little girls love and adore this kind of accessories. But not only young girls had been attracted to this but girls my age too! So I decided to make one today and here I am again with my quick DIY flower crown :)
What you'll need :)
1. Wire
2. Crepe Paper
3. Flower Pieces
4. Scissor
5. White Tape
First, shaped your wire around your head.
Then, taped the ends of the circle to assure your circle and so that you won't get pricked once you put your crepe paper and flowers on the side. Put your notions on the place where you wanted it and wrapped your crown with a crepe paper.
And taran!!! Here you go! Your very own flower crown :) You can be more creative than this :) this is just a mini guide for girls like me who loves to make new stuffs from the old :)
PS. to secure your crepe paper on your crown, make sure to put a paste on every turn :) okidoki!
thank you guys for taking your time reading my blog! :) See you on our next DIY :D
Sunday, March 9, 2014
"PIN ALL YO WANT!"
 Howdy friends! here I am again with my new DIY... and here's a quick view on how I made my new bracelet :)
What you'll need
1. Safety Pins (gold or silver)
2. Beads (any color you want)
3. Elastics
First, insert the beads onto the pin :)
Then insert the pins on the elastics using the hole on the ends.
And here you go your safety pin bracelet is complete:) You don't need to spend to much on accessories :) If you can make one and go! So come on and lets make bracelets! :)
Subscribe to:
Comments (Atom)
Featured Post
26 things I have learned in Life and in achieving my dreams
Happy Birthday To ME!! Feelings about being 26, well not that much, I still feel the same but this time I am a little bit of “gigil” in d...


