Wednesday, July 30, 2014

The Road to Happily Ever After :)

July 30, 2014 were all her fairy tales came true. One of my ate's and kuya's finally made a vow to one another and will start their new life as the new Mr. and Mrs. Palacious. Can I say my tears almost fell when I saw Ate Sarah walk down the aisle and witness how beautiful and happy she is; and the groom, kuya Angelo, on the other hand who's waiting for his bride, broke down to tears as he witness her so beautiful in white :)

I have known Ate Sarah when I was a kid, Idol ko nga siya eh! We spend sleepless nights on Obhur just talking and talking nonsense, wait for the sun to rise and jump at the pool! And I could remember when the time she told us she's bringing her boyfriend to our very 1st reunion. As her juniors, we we're all ecstatic on meeting him! Seriously, Kuya Angelo made tons of laughs to all of us, hindi man lang kami nahiya sa kanya! He's like one of us! Parang taga-Jeddah din! Years and years, we witnessed their love and still go "kilig" whenever we see them. They're the symbol of one true love :)

After years of waiting, the time had finally come when the both of them are ready to set their I do's! So I'm sharing to you the photo's, well some photo's we have taken from the newlyweds and how they told us to believe in one true love! :)
snapshot with the newlyweds!:)

Getting ready!


Hello Mr. Groom! 
The Bride and her Parents 


with their special guest Mr. Martin Nievera

Honestly speaking, I never liked weddings, I just love the moment but never the whole wedding scenario. But I guess it's way way different when you saw the person who's close to you walking down the aisle so happy and in love and sometimes it makes you believe in happily ever after. Thank you ate and kuya for sharing your love story to all us and thank you for making me realize again that fairy tales do exist! I Love with all my heart Momma and Poppa! :)

but first let me take a threeFie :)


You can also check ze link of ze AVP I made for them here:
https://www.youtube.com/watch?v=3F6HYyjdNTE&feature=youtu.be (Kasama kang tumanda)
https://www.youtube.com/watch?v=n_vUrJ_ddVg (perfect two)


Monday, July 28, 2014

DIY: Wire me knot! :)

Hello DIY! :)

Wired Beaded Bracelet :)

What you'll need
1. Gauge Wire
2. Jewelry Wire
3. Beads 
4. Plies

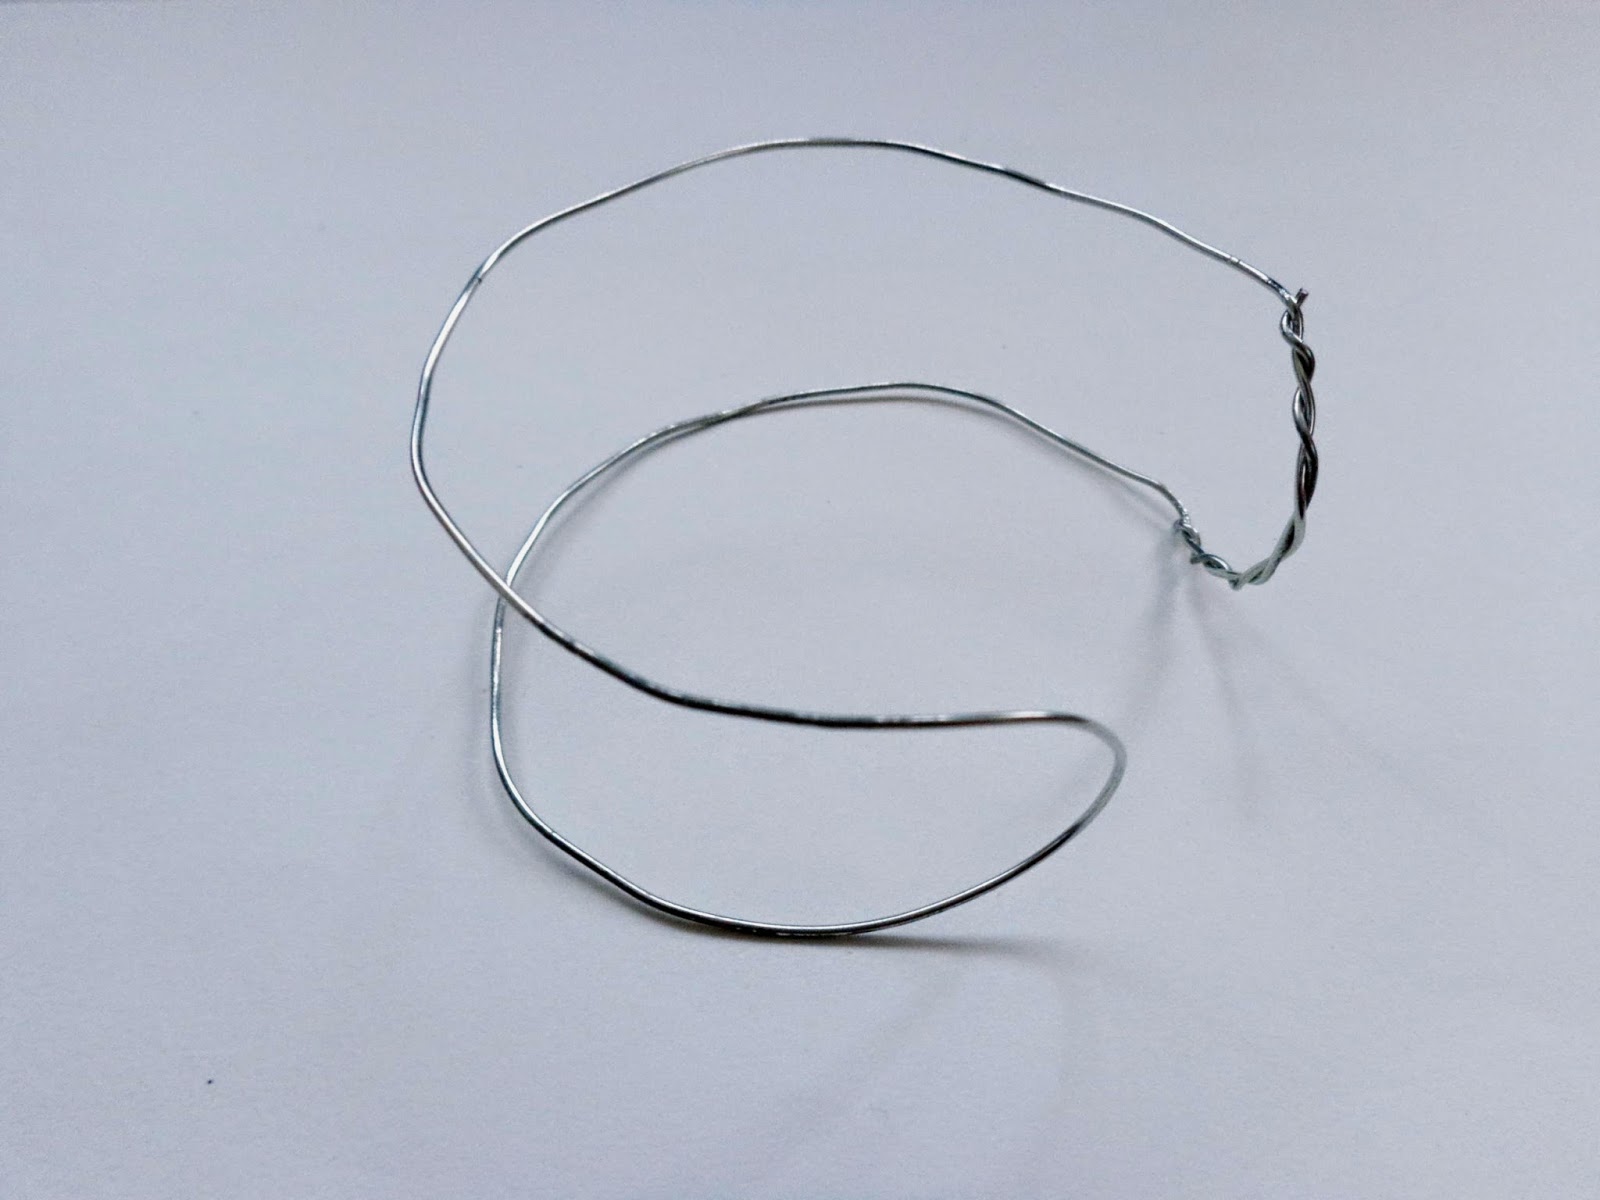
1. Cut the wire according to the size of your wrist

2. Connect the wire by twisting it's ends. 

3. Form it like this :D

4. After forming your wire, wrap your bracelet with Jewelry wire

5. Then fill them with your beads. You can use any type of beads for this, but since this are the only beads I found on my drawer so I obviously use this.

6. After filling your bracelet, tie a knot to secure your bracelet, or twist it on it's sides. 


Tananan! Your Beaded Wire Bracelet is done :)

All I can say is this bracelet is a bit "matrabaho" (has a lot of work to do). Especially when putting your small beads to your jewelry wire. But once you've finished making them, it's worth a lot of effort!

You can also put charms on the middle just like the photo on the very beginning! Why spend so much on accessories if you can make one! So until our next DIY! :) Thank you for taking time reading my blog! :)


Sunday, July 27, 2014

DIY: Pearl Bracelet

Howdy friends! Here I am with my new DIY. :)

Momma's Old Pearl Bracelet: all I can say is, this DIY is extremely easy, all you need is some old pearls and some additional accessories :) I guess, I don't need to explain how this thing goes but here are the pictures for you to see :)

What you'll need
1. Pearls 
2. Elastic Thread
3. Old Metal Bracelet/connectors
4. Scissor


note: If your metal connectors had design on both sides. make sure that you put them according to their pattern. Like the other side is facing on the right and the other one is facing on the left. 


Tanan!! Hello New Pearls!

And here are some of the Pearl DIY's I made this past few months :D 


Why spend so much on accessories if you can make one! Thank you for your time reading my DIY :) 


Thursday, July 24, 2014

DEFINE DIY :)


The curious case of Sailormoonchaser is here :) It's been years and years since I started making my own DIY. I guess I was 12 or 13 when I started making one, my grandmother used to call me "Mariang Kuba" because I love carrying a lot of trash (which is basically what my mom keeps on telling me) on my bag and  whenever my grandmother see's me picking up old stuffs from her kitchen at first it started a little bit weird for her but as soon as she get used to it she's helping me making it as my new toys. 

If only I have my own blog before and my camera, I have taken tons of pictures of my so called scrap and post it here. But unfortunately I don't have them anymore and I left everything in Saudi Arabia. 

Anyhoooooo, here are some of my DIY that I have posted here in my Blog and some of my DIY I made way way back :) 


Clay Art 101: Rainbow :) 


Adventure Time Phone Cases


meet my new kitty: CHLOE :)


Major Looming sickness


Flower Hair Clip


Nick J. and Janine Shoe Pair :)


Cosplay Costume: SailorMars and Caitlyn 


Flower Crown:


Tiffany Hwang Cap


Cat Ears 


PIN BRACELET


Filipinas


SailorMars


Mushu 


Doodle

I hope you guys like the DIY I have made.. Until our next DIY :) meow!

Featured Post

26 things I have learned in Life and in achieving my dreams

Happy Birthday To ME!! Feelings about being 26, well not that much, I still feel the same but this time I am a little bit of “gigil” in d...